
CelSector 100% Completion Checklist
A practical CelSector completion order: story flags, clothing, capacity, gallery, Hard mode and the four grind counters, with the runs combined where possible.
Quick answer: CelSector's 100% is 19 achievements plus the gallery and the post-game room. The efficient order is a normal story run that sweeps every sector, a fresh Hard run for Bring It On, then a challenge/grind pass for Packing Light, Untouchable and the four counters.
Completion is not one run. The challenge flags conflict with each other and the post-game flags need the story finished. This page sequences the work so each pass has a clear purpose.
Every scene unlocks through play. Finish the story and the post-game rooms before you chase the last entries.
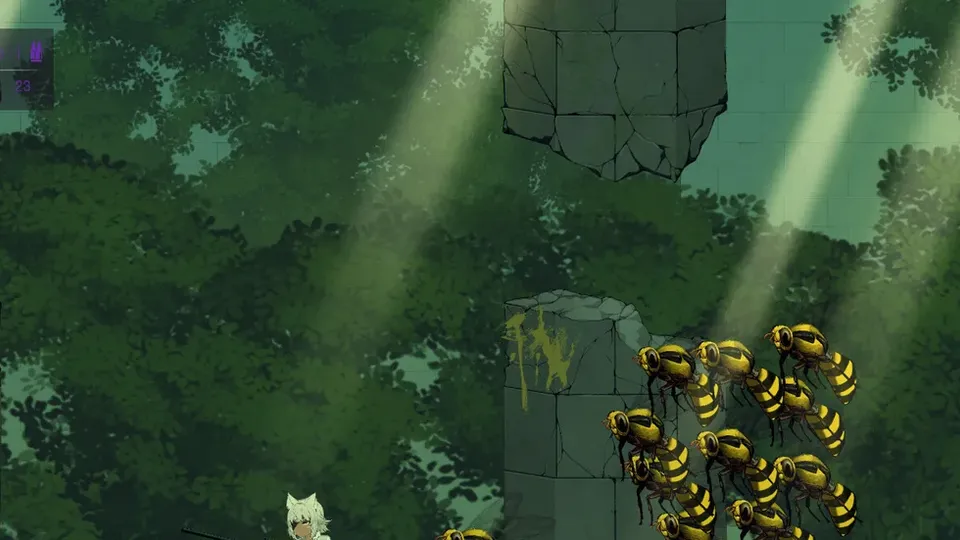
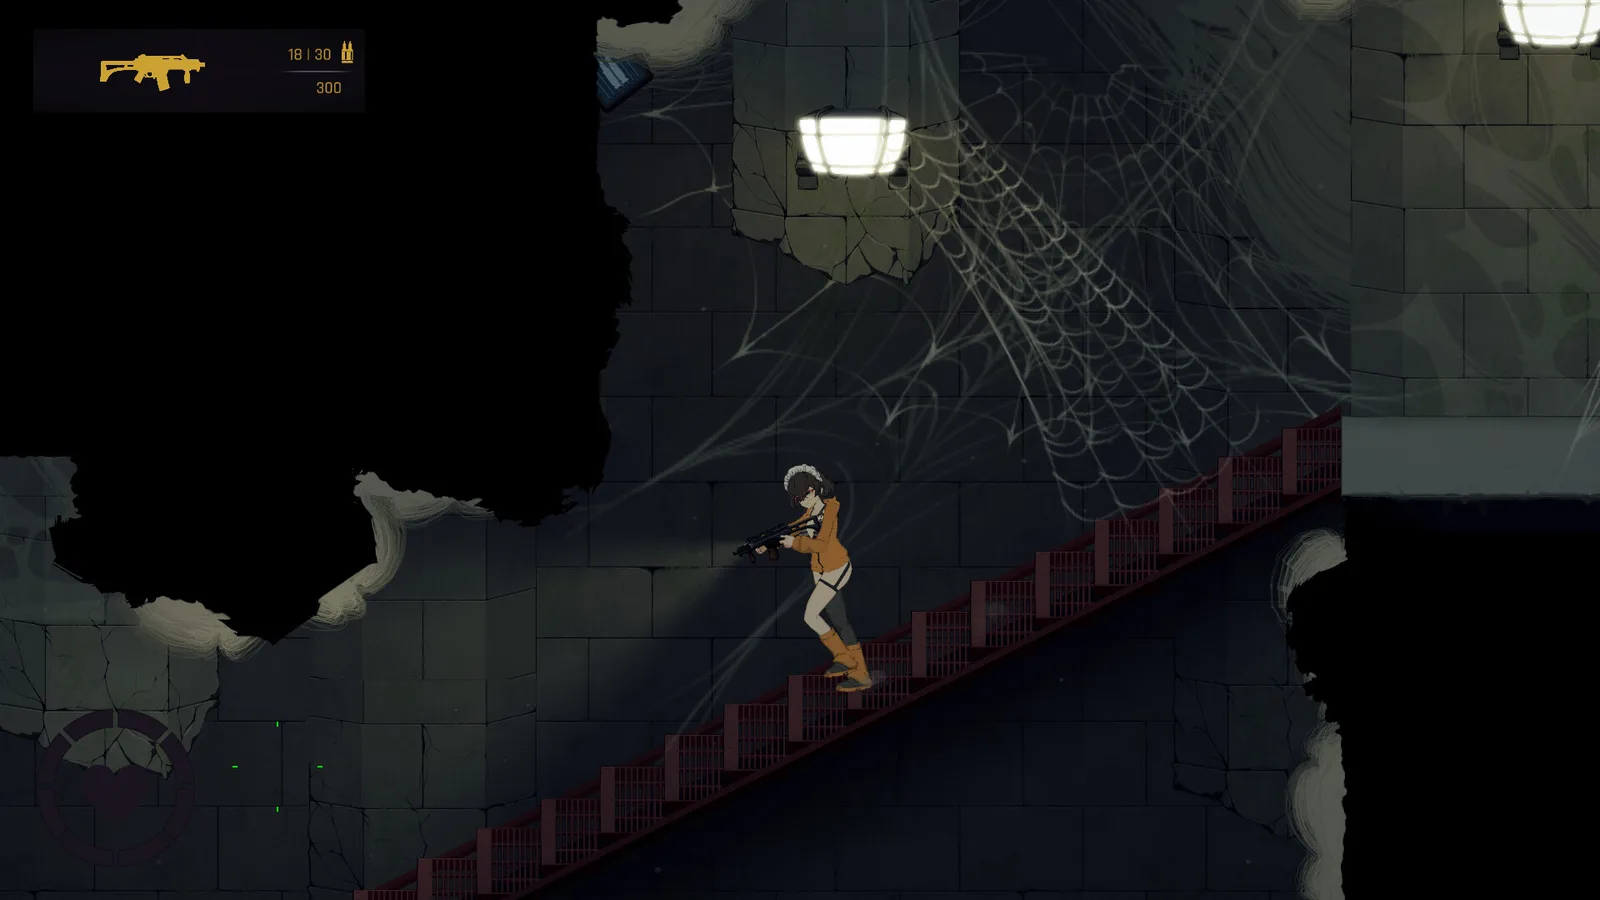
Before you start
- Finish the story once before chasing completion. You need the route knowledge and the post-game room.
- Do not lower the difficulty on your Hard save. Bring It On is lost if you do.
- Keep one "clean" save for challenge runs. Do not overwrite it with a normal run.
Phase 1: normal story run
Purpose: story flags, collection, gallery progress.
| Task | Where | Flag |
|---|---|---|
| Clear A1 and A2, sweep side rooms | Sectors A | No End in Sight |
| Take the pre-drop shotgun and sniper | A2 ledge | Arms Dealer progress |
| Clear B1 and B2, check the hive rooms | Sectors B | Down the Drain |
| Find the laser pistol | C1 side room | Arms Dealer progress |
| Clear C1 and C2, beat the final boss | Sectors C | Light at the End..? |
| Find and beat the giant worm | Optional arena | Just a Worm |
| Open every clothing chest you pass | All sectors | You Expect Me to Wear This? |
| Take every capacity pickup | All sectors | Filled to the Brim |
Do not restart a sector for one missed chest during this phase. Finish the run; stage select is faster with full route knowledge.
Phase 2: cleanup pass
Purpose: the collection flags you missed.
- Replay A1 and A2 first. They hold the most missable clothing and the A2 one-way drop.
- Replay B1 for the rifle and the starting-ledge clothing.
- Replay C1 for the laser pistol and the tentacle-corridor chest.
- Check the gallery after each boss; Hold That Pose fills from story and post-game content.
- Confirm Filled to the Brim and You Expect Me to Wear This? before moving on.
The secrets and chests page→ is the room list for this phase.
Phase 3: Hard run
Purpose: Bring It On only.
- Start a fresh save on Hard.
- Never touch the difficulty setting.
- Use the hard mode guide→ for boss prep.
- Ignore collection unless it helps survivability. The flag only needs the clear.
This run is also the best place to earn Sharpshooter if you use the sniper and revolver, because Hard forces headshots.
Phase 4: challenge and grind
Purpose: the flags that conflict with a normal run.
Packing Light (pistols only). Use the laser pistol as your main and the starter pistol as backup. Skip every non-pistol pickup. The revolver is optional; its reload is long, but it hits harder than the starter.
Untouchable (no grabs). Kill grabbers first, keep distance, reset outfits before web rooms. One grab invalidates the run, so play slower than usual.
The counters. Leave None Alive, Spray and Pray, Sharpshooter and A Drop in the Bucket are cumulative. Combine them with the challenge runs where possible:
| Counter | Best place to farm |
|---|---|
| 1,000 kills | Any respawning arena; the C1 boss adds |
| 30,000 bullets | SMG/rifle runs through early sectors |
| 250 critical kills | Sniper and revolver on elites |
| 1,000 grab completions | Post-game Sandbox Room with cheats |
Overpopulation and Part of the Family are Sandbox Room flags. Spawn every creature type once, then spawn 100 total.
Phase 5: gallery and post-game
After the credits:
- The gallery gets its final scenes from the post-game room.
- Fast travel unlocks, which makes cleanup faster.
- The post-game cheats (No Aggro, No Grab, No Effect Decay, No Release After H) are available for the grind.
The ending and post-game page→ explains each unlock.
The checklist
- Clear Sector A
- Clear Sector B
- Escape the facility
- Defeat the giant worm
- Trigger the Hypnosis Mask event
- Collect every gun
- Collect every clothing piece
- Max capacity
- Unlock every gallery scene
- Beat the game with pistols only
- Beat the game without being grabbed
- Beat the game on Hard without changing difficulty
- Surrender once
- 1,000 kills
- 30,000 bullets
- 250 critical kills
- Spawn every creature type
- Spawn 100 creatures
- 1,000 grab completions
FAQ
How long does 100% take? It depends on how much of the collection you got on the first run. The Hard run and the counters are the long tail.
Can I do everything in one run? No. Packing Light, Untouchable and Bring It On conflict with a normal run, and the post-game flags need the story finished.
Does the gallery count toward 100%? It has its own achievement, Hold That Pose, so yes if you count all flags.
Do cheats disable achievements? The post-game cheats are intended for cleanup. If you are chasing a flag, confirm it on a clean save first.
Sources
Official source: CelSector on Steam ↗ · CelSector demo on itch.io ↗ · Steam news and patch notes ↗