
CelSector Status Effects and Traps Explained
What CelSector's slime, silk, toxin, parasite and spore traps do, how to read the warning signs, and the order to clear a room.
Quick answer: CelSector uses five hazard families: slowing slime, restraining spider silk, sensory toxin, parasite infection and spore traps. None of them kills you quickly on its own; they kill you by taking away movement or aim while the room keeps attacking. Clear the source before you cross the hazard, not after.
The game rarely names these effects on screen. You learn them by the colour of the puddle, the sound of the web and the way your movement changes. This page gives each one a name and a counter so you can plan a room instead of reacting to it.
Webbing pins you in place and feeds every other hazard. Break the web source before you clean the floor.
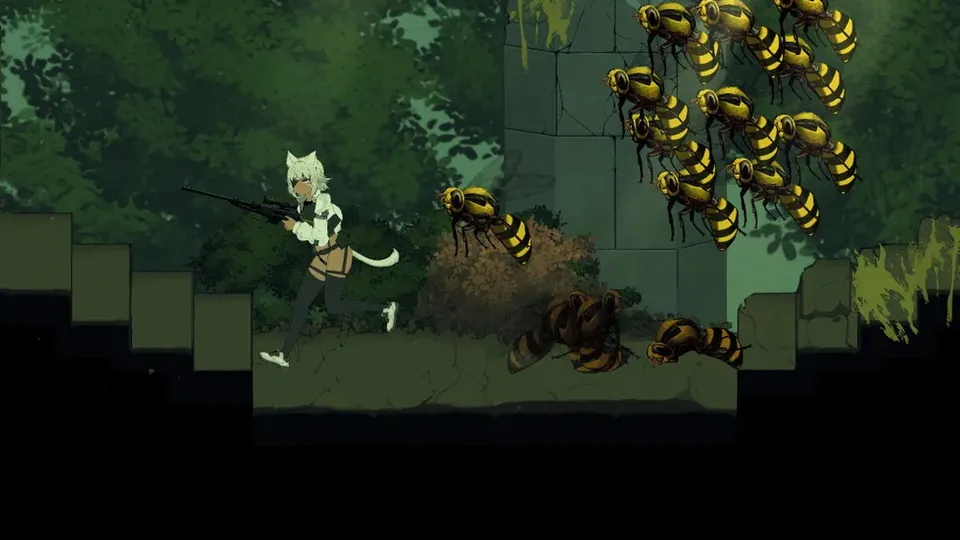
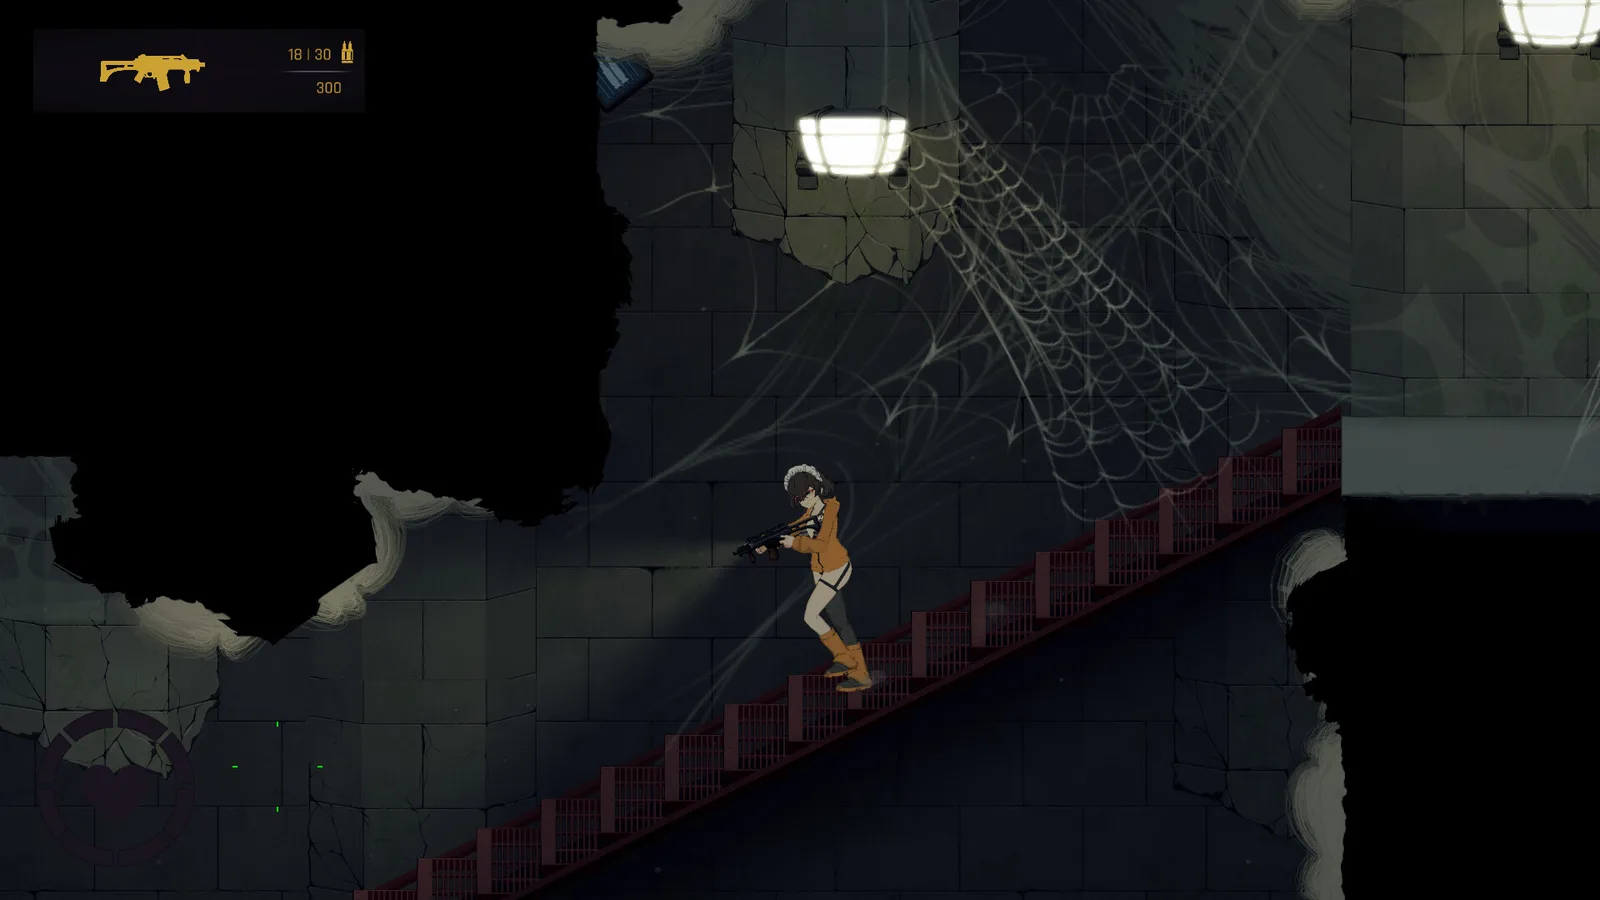
The five hazard families
| Hazard | What it does | Warning sign | Counter |
|---|---|---|---|
| Slime | Slows movement | Glossy puddle, dripping sound | Clear the room first, then cross |
| Spider silk | Restrains or slows, sets up grabs | Web strands across a doorway | Burn or shoot the web from range |
| Sensory toxin | Blurs aim and screen | Green haze, floating spores | Kill the source, back out of the cloud |
| Parasite infection | Applies a mutation/debuff | Attached organism, HUD icon | Kill the implanting enemy fast |
| Spore traps | Burst on contact, apply a debuff | Bulbous pods on walls or floors | Shoot the pod before walking past |
The pattern is the same for all five: the hazard is a force multiplier for the enemies in the room, not a standalone damage source. A slime puddle in an empty room is free. A slime puddle with two grabbers is a death trap.
Slime: the movement tax
Slime is the most common hazard in the sewers. Walking through it cuts your speed, which makes every jump shorter and every dodge late. It does not stack visibly, so it is easy to forget you are still standing in it.
Rules:
- Cross slime only after the room is clear, or while firing at the enemy on the far side.
- Do not jump from a slime patch unless you have to; the reduced speed can turn a clean ledge jump into a fall.
- In B1, the slime pits are placed next to earthworm spawns. Clear the worms first, then cross.
Spider silk: the grab setup
Silk is worse than slime because it restricts you near the enemies that want to grab you. A web across a doorway is a warning, not decoration. If you walk into it, you lose the initiative.
The counter is range. Shoot the web from outside the room, burn it with a weapon that has area coverage, or kill the spider before you cross. Do not try to sprint through a web room; the slow is long enough for a spider to land on you.
Sensory toxin: the aim debuff
Toxin clouds blur the screen and make precise aim unreliable. The source is usually a plant-like enemy or a pod, not the cloud itself. Back out of the cloud, kill the source, then re-enter.
If you are using a sniper, toxin is a hard counter. Swap to a shotgun or SMG until the cloud is gone; trying to land a headshot through the blur wastes the ammo.
Parasite infection: the snowball
Parasites are applied by specific enemies rather than by floor hazards. Once the infection triggers, you are fighting a debuff while the room continues. The correct response is to kill the implanting enemy before it reaches you, not to cleanse after.
This is the one hazard where target priority matters more than positioning. If you see an enemy carrying or firing an organism, kill it first even if a shooter is also active.
Spore traps: shoot first, walk later
Spore pods sit on walls and floors and burst when touched. They are placed to punish the obvious path, which makes them useful: shoot the pod from a distance and it clears the path for free.
The exception is a pod next to an explosive barrel. Shooting the pod can chain into the barrel, which is fine if you are behind cover and bad if you are not.
The room-clearing order
For any room with more than one hazard, use this order:
- Kill the source enemies (spitters, implanters, pod-planters) from the doorway.
- Clear the static hazards (webs, pods) with ranged fire.
- Kill the remaining trash.
- Cross the slime or toxin residue last.
That order is slower than charging and it is the difference between a room that costs one magazine and a room that costs an outfit.
Hazards in the sector routes
- B1 is the slime and earthworm sector. The B1 walkthrough→ marks the pits and the generator route.
- B2 is the web and wasp sector. The B2 walkthrough→ covers the queen wasp room.
- C1 adds slime to a parkour stretch, which is the worst combination in the game. The C1 walkthrough→ gives the safe platform order.
FAQ
Can status effects kill you? Not directly. They reduce movement, aim or escape odds while enemies deal the damage.
Is there a cure item? The game does not use a consumable cure system. You clear the source, leave the area, or reach a save room.
Do hazards respawn? Static hazards such as webs and pods do not respawn within a run. Slime stays where it is placed. Enemies respawn only when you replay a sector from stage select.
Which hazard is the most dangerous? Silk, because it chains directly into grabs. Slime is second because it ruins jumps.
Sources
Official source: CelSector on Steam ↗ · CelSector demo on itch.io ↗ · Steam news and patch notes ↗