
CelSector B1 Walkthrough: Generators and the Rifle
CelSector B1 route: the starting-ledge clothing, the three-generator hub that opens the save room, the slime pits and the side-room rifle.
Quick answer: B1 is the sewer hub sector. The critical path is three generators that power the save room, then the elevator. The starting ledge holds four clothing pieces, a side room holds the first rifle and the slime pits hide a capacity pickup. Clear the side content before the elevator.
B1 is the first sector that feels like a hub rather than a corridor. The generator order is flexible, which is exactly why players leave with an under-cleared sector.
Each generator powers one light. Turn on all three to open the save room before the elevator.
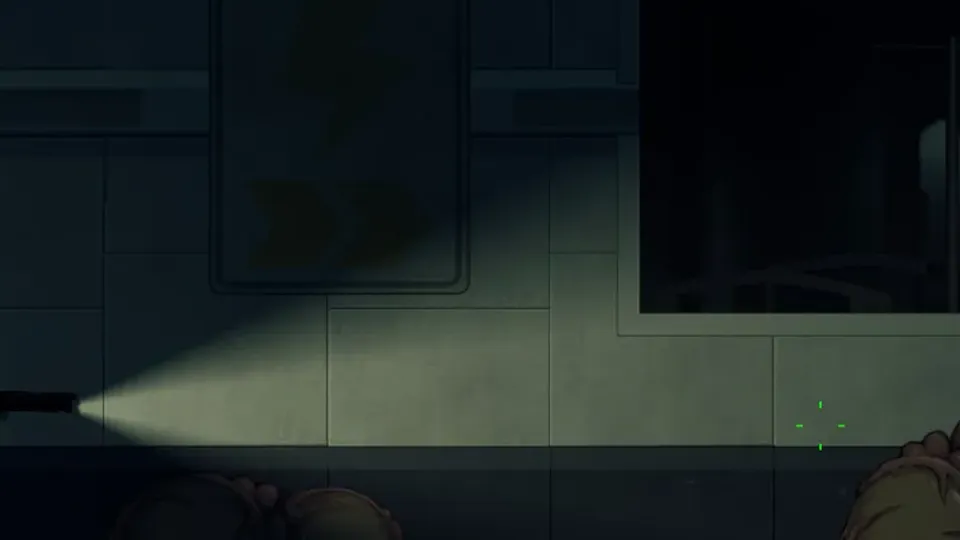
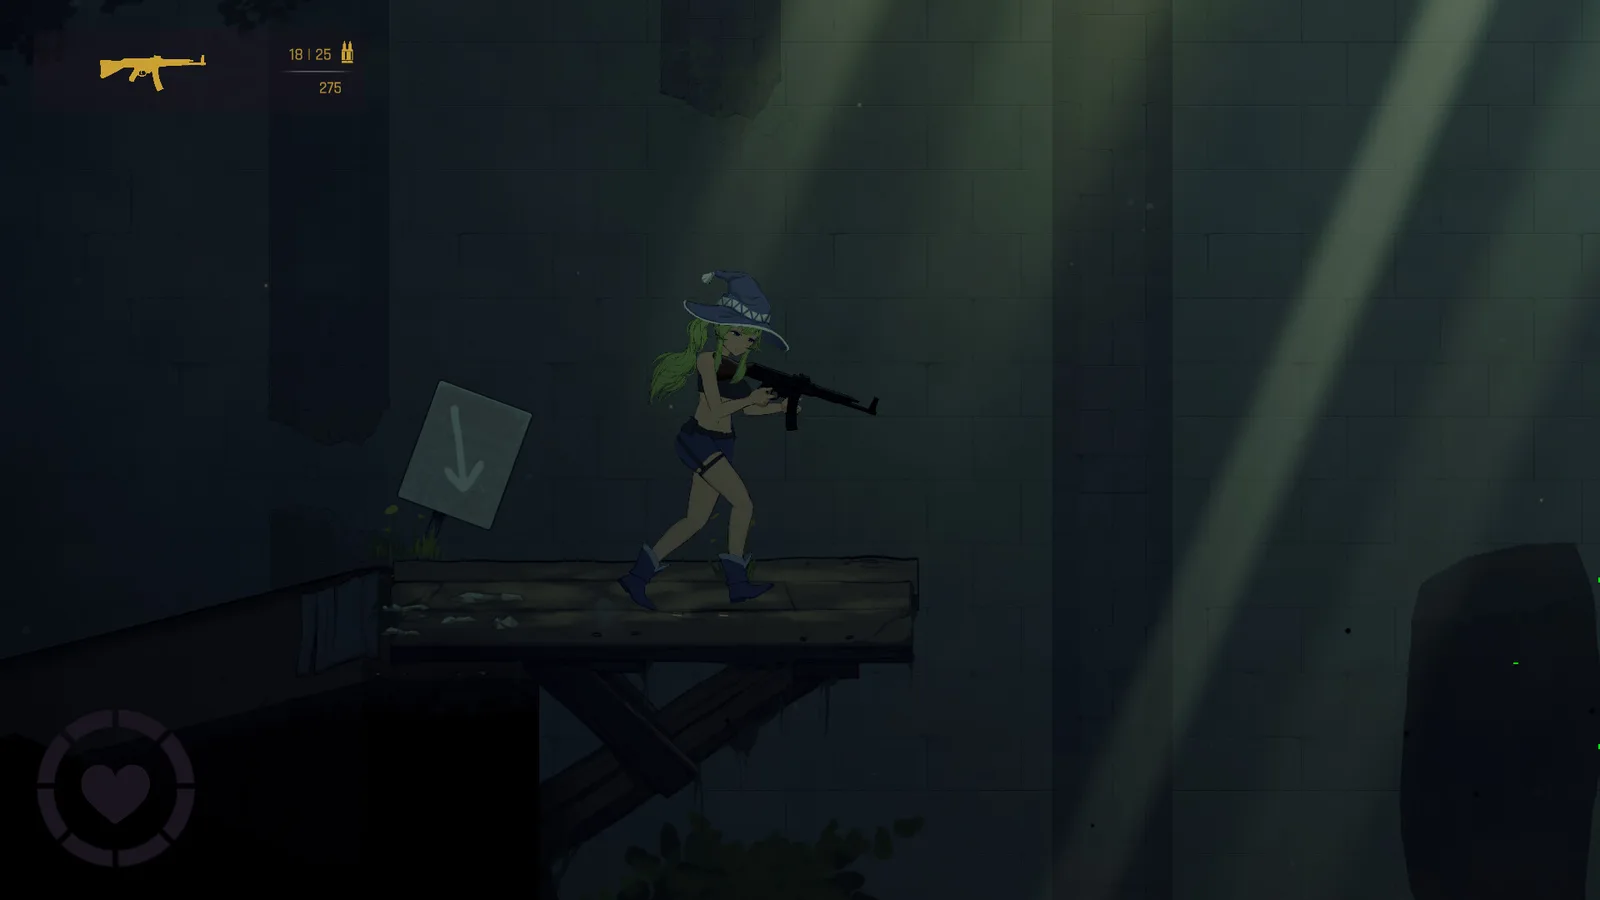
Route overview
| Step | Area | What happens |
|---|---|---|
| 1 | Starting ledge | Four clothing pieces before the first fight |
| 2 | Generator hub | Three generators, three lights |
| 3 | Save room | Opens when all three generators are on |
| 4 | Slime pits | Hazard route, capacity pickup |
| 5 | Rifle side room | The first rifle |
| 6 | Elevator | Sector exit |
Step 1: the starting ledge
The ledge before the first fight holds four cosmetic pieces:
- Hair
- Sleeves
- Pants
- Shirt
They are separate pickups, not one chest. Walk the ledge before you drop into the hub; the drop is one-way in practice because climbing back costs time.
Step 2: the generator hub
The hub has three generators. Each one turns on a light. When all three are on, the save room opens.
The order does not matter, but the route does:
- Take the generator closest to the entry first; it is the least defended.
- Do the middle generator second; its room has the most enemies.
- Leave the far generator for last and use its room to loop back to the save room.
If you are low on ammo, the save room is the reset point. Do not push into the slime pits before it opens.
Step 3: the save room
The save room is the sector's checkpoint. It also gives you a place to reset your outfit before the hazard route. Load an intact preset here; the slime pits are next.
Step 4: the slime pits
The slime pits are the sector's hazard gauntlet. Slime slows movement and increases the cost of a mistake, and the pits have earthworms and fast ants.
| Hazard | What it does | Counter |
|---|---|---|
| Slime | Slows movement | Avoid the pools, clear the edge first |
| Earthworms | Ambush from the floor | Watch the disturbed ground |
| Fast ants | Rush in groups | SMG or shotgun, back up |
The capacity pickup is at the edge of the pit area, not in the centre. Check the walls before you drop.
Step 5: the rifle side room
The first rifle is in a side room off the hub, not on the main path. It is the sector's most valuable pickup and the one most players miss.
The rifle gives you a sustained-damage option between the SMG and the sniper. It is not as strong as the sniper per shot, but it is far more forgiving in a corridor.
If you are already at the elevator, the side room is behind you; replay the sector with stage select.
Step 6: the elevator
The elevator is the exit. Before you take it:
- Four starting-ledge pieces
- Three generators on
- Save room opened
- Capacity pickup from the slime pits
- Rifle from the side room
B1 enemies
| Enemy | Threat | Answer |
|---|---|---|
| Earthworms | Floor ambush | Watch the ground, back up |
| Fast ants | Group rush | SMG, doorway choke |
| Slimes | Movement debuff | Avoid pools, clear ranged enemies first |
The status effects page→ covers the slime and the other hazards.
B1 and the outfit
B1 is where clothing damage starts to matter. The slime pits and the ant rooms will leave you at stage 2 if you push through without resetting. Use the save room to swap to an intact preset before the elevator.
The clothing damage page→ explains the stages.
FAQ
How many generators are in B1? Three. Turning all three on opens the save room.
Where is the rifle? In a side room off the generator hub, not on the main path.
Is the slime pit optional? The capacity pickup is. The route through the pits is the main path.
Can I go back for the rifle after the elevator? Not in the same run. Replay B1 with stage select.
Sources
Official source: CelSector on Steam ↗ · CelSector demo on itch.io ↗ · Steam news and patch notes ↗