
CelSector A2 Walkthrough: Dogs, Zombies and the Drop
CelSector A2 route: the dog room, the zombie corridor and the high drop that locks you out of the shotgun and sniper if you jump early.
Quick answer: A2 is the second prison sector. The route runs through a dog room and a zombie corridor to a high ledge, and the ledge is a one-way drop. The first shotgun and the sniper sit before that drop. Jump early and you finish the sector without either gun.
This is the first sector where route order matters more than combat. The fights are manageable; the mistake is a movement decision.
Take the shotgun and sniper from the high ledge before you jump down. There is no way back up.
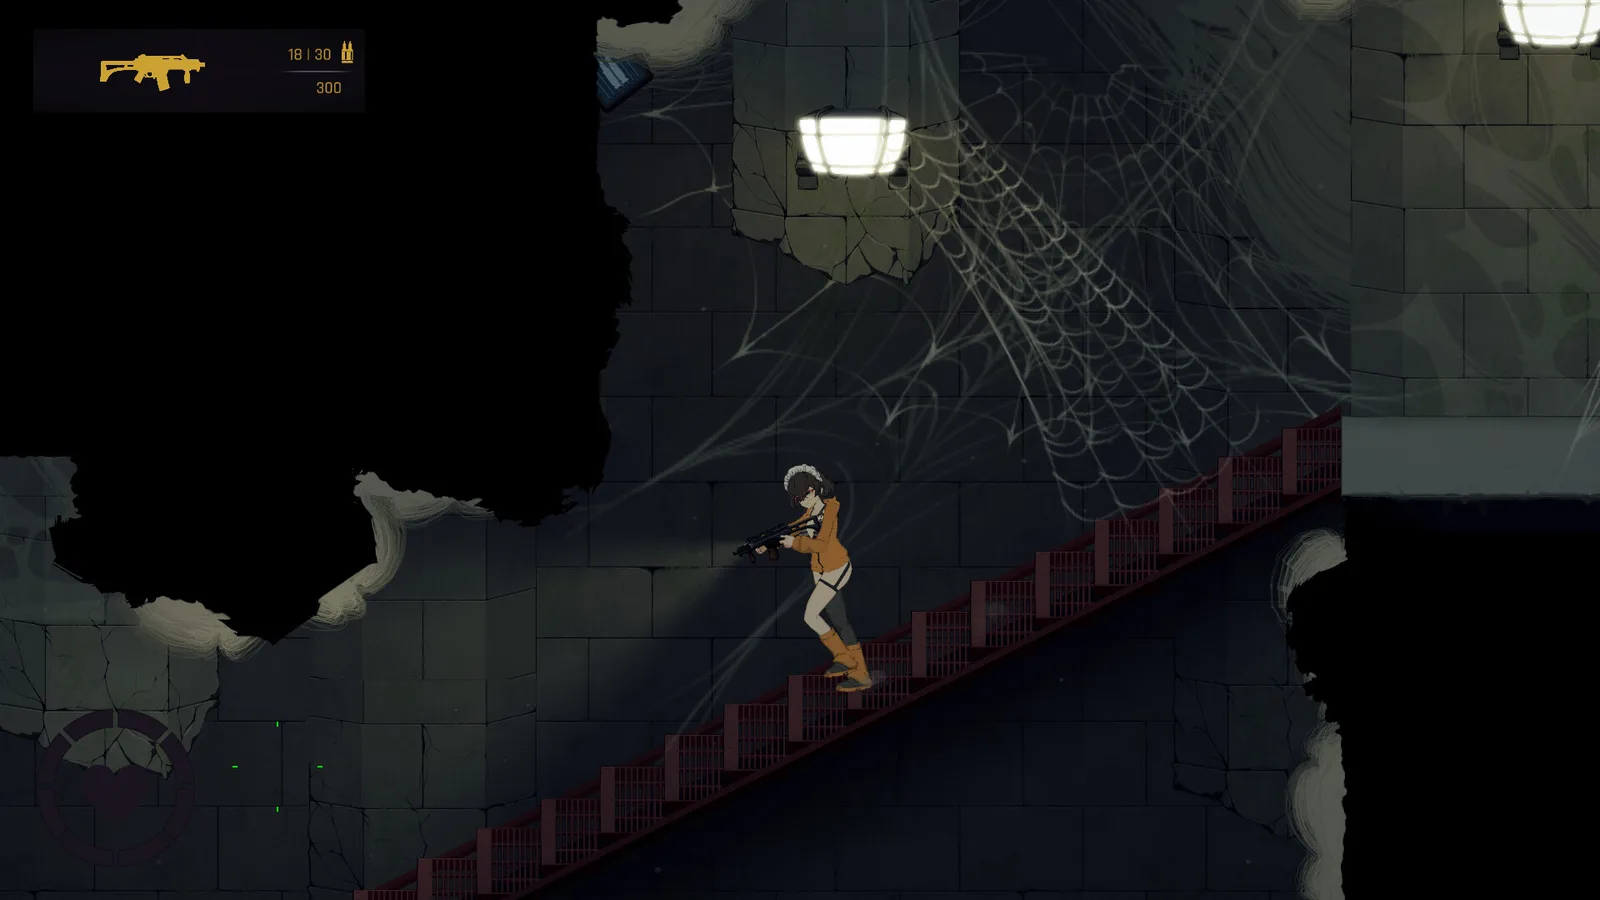
Route overview
| Step | Room | What happens |
|---|---|---|
| 1 | Entry corridor | Dogs and the first pack fight |
| 2 | Dog room | Clear the pack, check the side alcove |
| 3 | Zombie corridor | Long lane, grabbers mixed in |
| 4 | High ledge | Shotgun and sniper pickups |
| 5 | The drop | One-way; no return |
| 6 | Final door | Keycard exit |
Step 1: the dog room
The dogs are fast and they flank. The room has enough space to back up, so do not let them pin you against the entry door.
- Kill the first dog at range to break the pack's momentum.
- Back toward the entry while firing; the room's width is your friend.
- Check the side alcove after the fight. It is one of the sector's ammo caches.
Dogs are not grabbers, but they set up grabs by staggering you. Clear them before the heavier enemies.
Step 2: the zombie corridor
The zombie corridor is a long lane with enemies at both ends. The danger is getting surrounded in the middle.
- Clear one end before advancing.
- Watch for grabbers mixed into the zombie group.
- Use the corridor's length to line up shots; the pistol is accurate enough here.
If you have the SMG from A1, this is a good place to use it. The lane keeps the spread manageable.
Step 3: the high ledge
Before the drop, the route climbs to a ledge with two pickups:
| Pickup | Location | Why it matters |
|---|---|---|
| Shotgun | Pre-drop ledge | The first close-range burst weapon |
| Sniper | High ledge | The only sniper in the game |
Both are optional in the sense that the game lets you jump past them. Neither is optional if you want an easy B1.
Step 4: the drop
The drop is one-way. Once you land, the geometry does not let you climb back to the ledge.
Before you jump:
- Shotgun taken
- Sniper taken
- Side alcove checked
- Ammo topped up
If you already jumped, finish the sector and replay it with stage select. Do not restart the whole run; keycards persist and the route is short.
Step 5: the final door
The final door needs the sector keycard, which is on the main path after the drop. Clear the last room, take the card and exit.
The post-drop rooms are tighter than the dog room, which is where the shotgun earns its slot. If you missed it, the pistol and SMG still work; you will just spend more time.
A2 enemies
| Enemy | Threat | Answer |
|---|---|---|
| Dogs | Fast flankers | Back up, kill at range |
| Zombies | Slow, durable | Headshots, keep the lane clear |
| Grabbers | Mixed into packs | Kill first, before the crowd |
The status effects page→ covers the hazards in the post-drop rooms.
What A2 sets up
A2 is the last sector where the pistol can carry you. From B1 onward, the enemy density and the hazard rooms assume you have a shotgun and a rifle. If you leave A2 under-equipped, B1 will feel like a difficulty spike.
The B1 walkthrough→ starts with the generator hub and the rifle side room.
FAQ
Can I go back up after the drop? No. The drop is one-way.
Did I miss the sniper permanently? Not permanently. Replay A2 with stage select.
Is the shotgun required for B1? Not required, but B1's tight rooms are much harder without it.
Where is the A2 keycard? On the main path after the drop.
Sources
Official source: CelSector on Steam ↗ · CelSector demo on itch.io ↗ · Steam news and patch notes ↗