
CelSector Secrets and Chests: Room-by-Room Cleanup
Every CelSector chest worth opening: clothing, capacity pickups and keycards by sector, plus the one-way drops that make a second pass necessary.
Quick answer: CelSector hides its collectibles in chests, side rooms and pits rather than behind a secret-finding mechanic. The important ones are clothing pieces, capacity pickups and keycards. Several sit behind one-way drops, so a cleanup pass with stage select is the reliable way to finish them.
The game does not have a collectible radar or a map marker for chests. You find them by clearing rooms and checking the edges. This page is the sweep order: which sectors hide what, and which rooms you should not leave without checking.
A stage replay resets doors, not loot. Open every chest on your first pass through a sector.
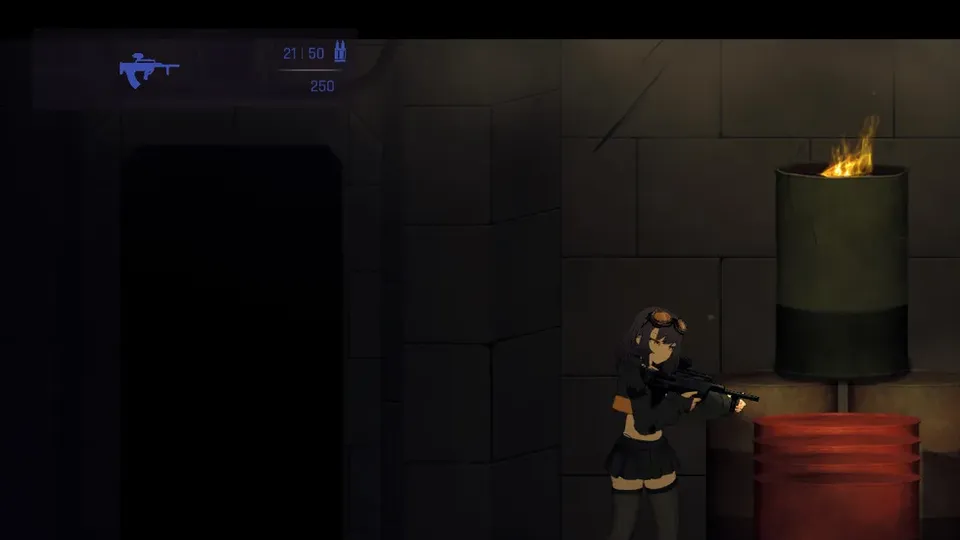
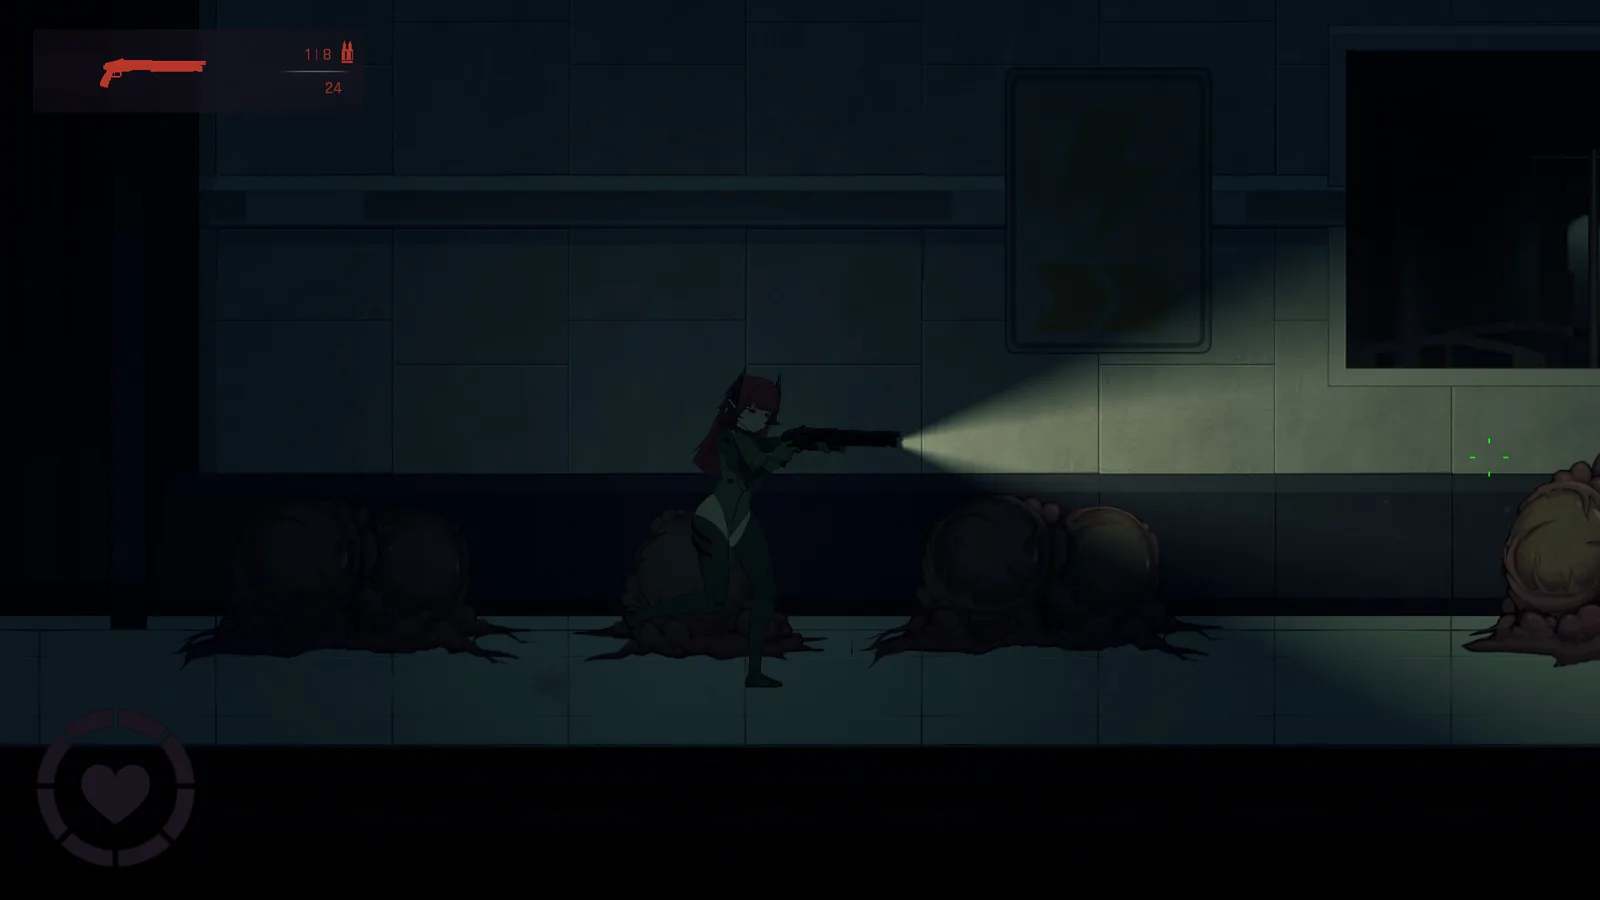
How secrets work in CelSector
There is no "secret wall" system. A secret is usually one of:
- A chest at the end of a side path.
- A pit you can drop into on purpose.
- A room behind an arena you have to clear.
- A ledge reachable by jumping before a one-way drop.
The game rewards curiosity with clothing and capacity, not with story branches. If a path looks like a dead end, walk to the end of it.
A1: the tutorial sector hides the most
A1 is small and easy to rush, which is why it is the sector most players under-clear.
| Location | What is there | How to get it |
|---|---|---|
| First larvae hall pit | Keycard | Drop into the pit on purpose |
| Larva egg arena | Final keycard | Clear the arena, check the far side |
| SMG room, left side | Clothing chest | Check the left wall before taking the SMG |
| SMG room, outer left | Shorts, hair and bra chests | Three separate pickups around the room |
| Maggot pit, bottom right | Clothing chest | Drop to the bottom and check the right corner |
The SMG room alone holds several pieces. If you grabbed the SMG and left, you missed them.
A2: the one-way drop problem
A2 has the first shotgun and the sniper, both before a high drop. After the drop, the game does not let you climb back.
| Location | What is there | Risk |
|---|---|---|
| Pre-drop ledge | Shotgun | Missable after the drop |
| Pre-drop high ledge | Sniper | Missable after the drop |
| Dog room | Ammo and capacity | Low |
| Zombie corridor | Clothing chest | Low |
| Final door area | Keycard | Main path |
If you are already past the drop, finish the sector and replay it with stage select. Do not restart the whole run.
B1: the generator hub
B1 is a hub sector: three generators, a save room and an elevator. The side rooms are where the pickups are.
| Location | What is there | Note |
|---|---|---|
| Starting ledge | Hair, sleeves, pants and shirt | Four pieces before the first fight |
| Generator side rooms | Rifle | The first rifle is off the main path |
| Slime pits | Capacity pickup | Check the edges |
| Elevator route | Clothing chest | Easy to skip if you rush the exit |
The B1 walkthrough→ marks the generator order; this page marks what to check between them.
B2: the hive sector
B2 is the spider and wasp sector. The web rooms hide chests, and the queen wasp arena gates the exit.
| Location | What is there | Note |
|---|---|---|
| Web rooms | Clothing chests | Check behind the web curtains |
| Hive alcoves | Capacity pickup | Off the main corridor |
| Queen wasp arena | Keycard | Boss reward |
| Post-boss room | Chest | Before the exit |
C1: the light puzzle and the tentacle corridor
C1 has the on/off light puzzle, the jellyfish boss and a long tentacle corridor after it.
| Location | What is there | Note |
|---|---|---|
| Light puzzle rooms | Capacity pickup | Check the dark corners |
| Pre-boss side room | Laser pistol | The best utility gun in the game |
| Tentacle corridor, far right | Keycard and chest | After the boss, easy to walk past |
The laser pistol is the pickup that changes the final boss. If you missed it, replay C1 before C2.
C2: the final sector
C2 is short: tentacle enemies, a yellow-lit corridor, a final save room and the boss. There is little to collect, but check the save room area before the door.
The cleanup order
- Finish the story run.
- Replay A1 and A2 first; they hold the most missable clothing.
- Do B1 and B2 next; the rifle and the hive chests.
- Do C1 last; the laser pistol and the tentacle corridor chest.
- Check the achievement list; the remaining flags tell you which sector to revisit.
Keycards persist across stage select, so a second pass is faster than the first. Doors and arenas reset, which means you re-clear fights but keep the route knowledge.
What is not a secret
- The gallery. It unlocks from story progress and the post-game room, not from hidden chests. See the ending and post-game page→.
- Hard mode. It is a difficulty setting, not a hidden unlock. See the hard mode page→.
- The demo's content. Demo progress carries into the full game, but demo chests are not the same as retail chests.
FAQ
Are there secret endings? No. There is one ending sequence, triggered by the final boss and the elevator. The post-game room is separate content.
Do chests respawn? No. A collected chest stays collected within a save.
Can I miss the laser pistol? Yes, within a run. Replay C1 with stage select.
Is there a collectible tracker? No in-game tracker. The achievement list is the closest thing.
Sources
Official source: CelSector on Steam ↗ · CelSector demo on itch.io ↗ · Steam news and patch notes ↗