
CelSector Boss Guide: Every Fight and the Weapon to Bring
Every CelSector boss in order: the hidden giant worm, the queen wasp, the C1 jellyfish and the two-head final boss, with prep and weapon picks.
Quick answer: CelSector has four major fights: the hidden giant worm, the queen wasp in B2, the jellyfish boss in C1 and the two-head final boss in C2. Every fight rewards add control first and boss damage second, and every one is easier with an intact outfit and a full sniper reserve.
This is the index page: the shared rules, the fight order and the weapon each boss wants. The final boss has its own page because the add pattern deserves the detail.
Full ammo, a clean outfit and the right three guns matter more than raw aim in every boss fight.
The four fights
| Boss | Sector | Weapon | Difficulty |
|---|---|---|---|
| Giant worm | Optional arena | Shotgun | Medium |
| Queen wasp | B2 | Shotgun + sniper | Medium |
| Jellyfish boss | C1 | Laser pistol + shotgun | Medium-hard |
| Final boss | C2 | Laser pistol + sniper | Hard |
The giant worm is the only optional one. It has its own achievement, Just a Worm, and it is easy to skip if you beeline the main route.
Shared boss rules
Clear adds before damaging the boss. Every fight in the game spawns adds. The boss windows are generous; the add pressure is what kills.
Reset your outfit at the door. The customisation screen is free. A stage 3 outfit turns a grab into a run-ending mistake.
Bring the right ammo. The sniper is for heads, the shotgun is for close windows, the laser pistol is for rows. Using them backwards is the most common boss mistake.
Do not reload in the open. Swap to the pistol, move, then reload.
Learn one phase at a time. If a fight has two phases, practice the first without spending the sniper. The second phase is where the reserve matters.
Giant worm
The giant worm is a hidden fight in an optional arena. It is a large target with close-range windows, which makes the shotgun the best pick.
- Stay mobile; the worm's attacks are area-based.
- Punish the recovery windows with the shotgun.
- Do not use the sniper unless the worm exposes a weak point; the ammo is better spent later.
Defeating it unlocks Just a Worm. The secrets page→ marks the optional arenas.
Queen wasp
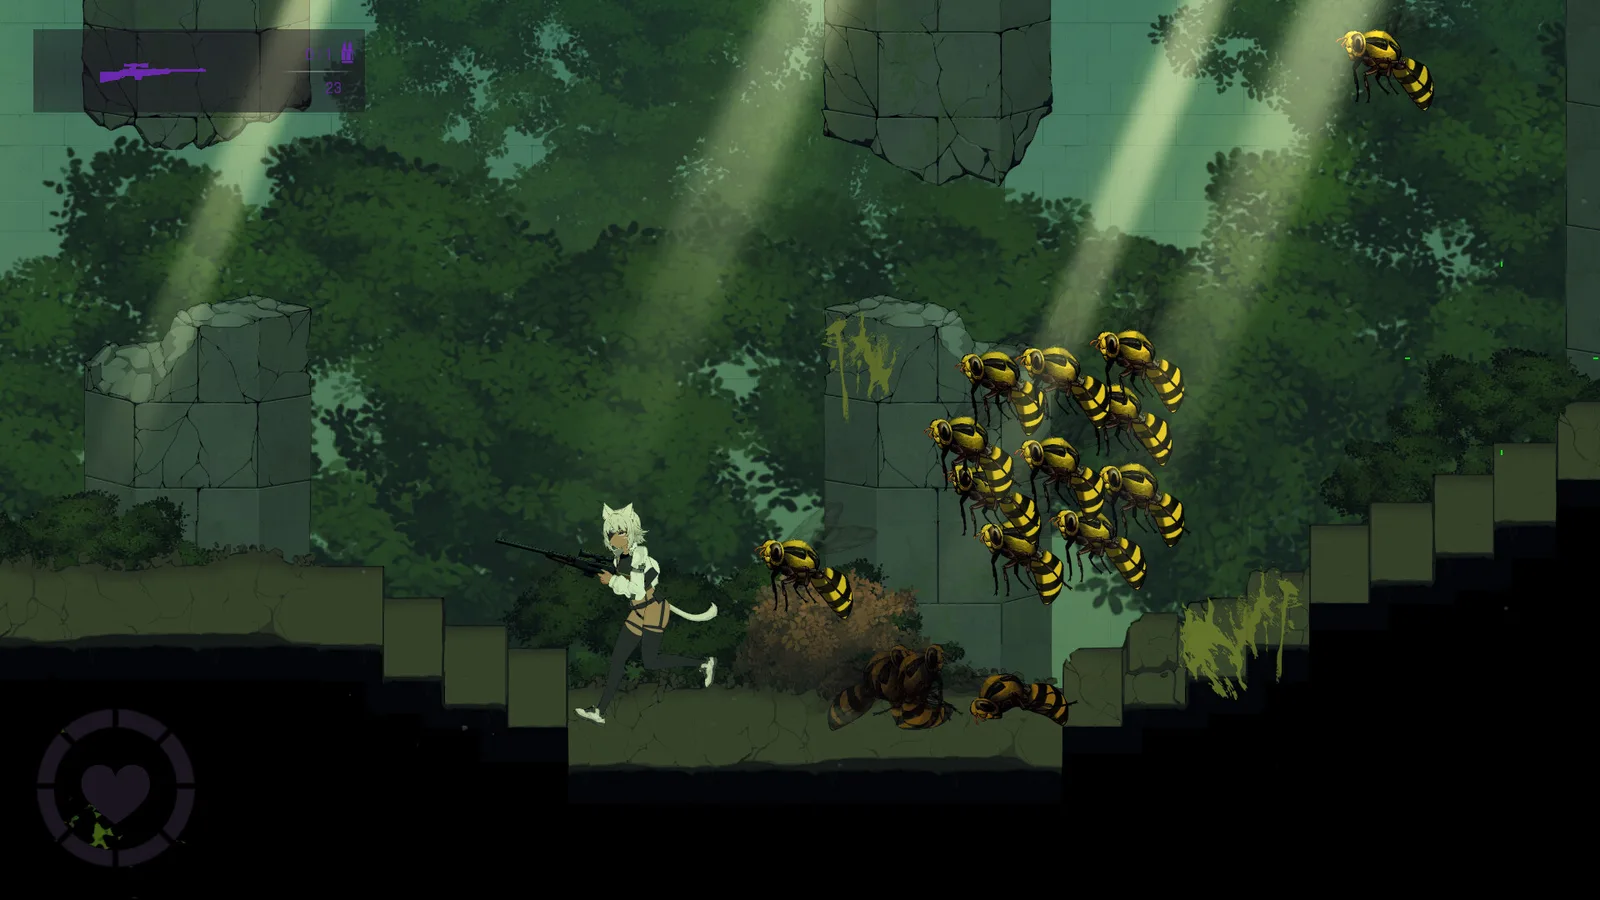
The queen wasp is the B2 boss. Phase 1 is elevated with wasp adds; phase 2 drops low and attacks directly.
- Kill the wasp nests and adds between queen windows.
- Use the shotgun when she lands.
- Sniper the exposed head, not the adds.
The B2 walkthrough→ covers the room and the keycard.
Jellyfish boss
The C1 boss floats and summons flying jellyfish in rows. The arena is open, which makes the rows the real threat.
- Laser pistol or SMG for the rows.
- Shotgun for the close phase.
- Keep the centre open for dodges.
The C1 walkthrough→ covers the light puzzle and the laser pistol pickup that makes this fight manageable.
Final boss
Two health bars, two heads and endless add rows. The laser pistol clears a row per magazine; the sniper hits the heads; the shotgun covers the close phase.
The full pattern, the arena rules and the common mistakes are on the final boss page→.
Boss prep checklist
- Laser pistol in the loadout
- Shotgun loaded
- Sniper reserve full
- Intact outfit preset ready
- Capacity pickups collected
- Save room used before the door
Bosses and difficulty
Hard mode does not change the patterns; it shrinks the windows. The same weapon picks apply, but add control matters more. See the hard mode page→.
FAQ
How many bosses are in CelSector? Four major fights: the worm, the queen wasp, the jellyfish and the final boss.
Which boss is optional? The giant worm.
What is the hardest fight? The final boss, because of the add rows and the second health bar.
Do bosses respawn? No. Stage select lets you replay a sector, including its boss.
Sources
Official source: CelSector on Steam ↗ · CelSector demo on itch.io ↗ · Steam news and patch notes ↗